
I am excited to announce that over the next year I am in a mentoring program offered through Improve Photography Plus. I highly recommend subscribing to IPP if you are a photographer, as they offer a great variety of learning, editing, and other resources. I am vary privileged to be mentored by Brian McGuckin, who is a professional photographer in Indianapolis!
This month's photo challenge is capturing light - one of the most important aspects of photography. In this post I’ll share shots that I got and the process involved in taking them. More will show up when I take them - so stay tuned.
The first light shot I got was this:


Okay, that is SOOO enticing!!! But don't be fooled, that is only a candle in the cup. I snuffed it out to get the "steam". I used a mirror, glass-topped coffee table, and cloth for the background, tea-lights to add a romantic feeling, and my flash for the soft-even light.
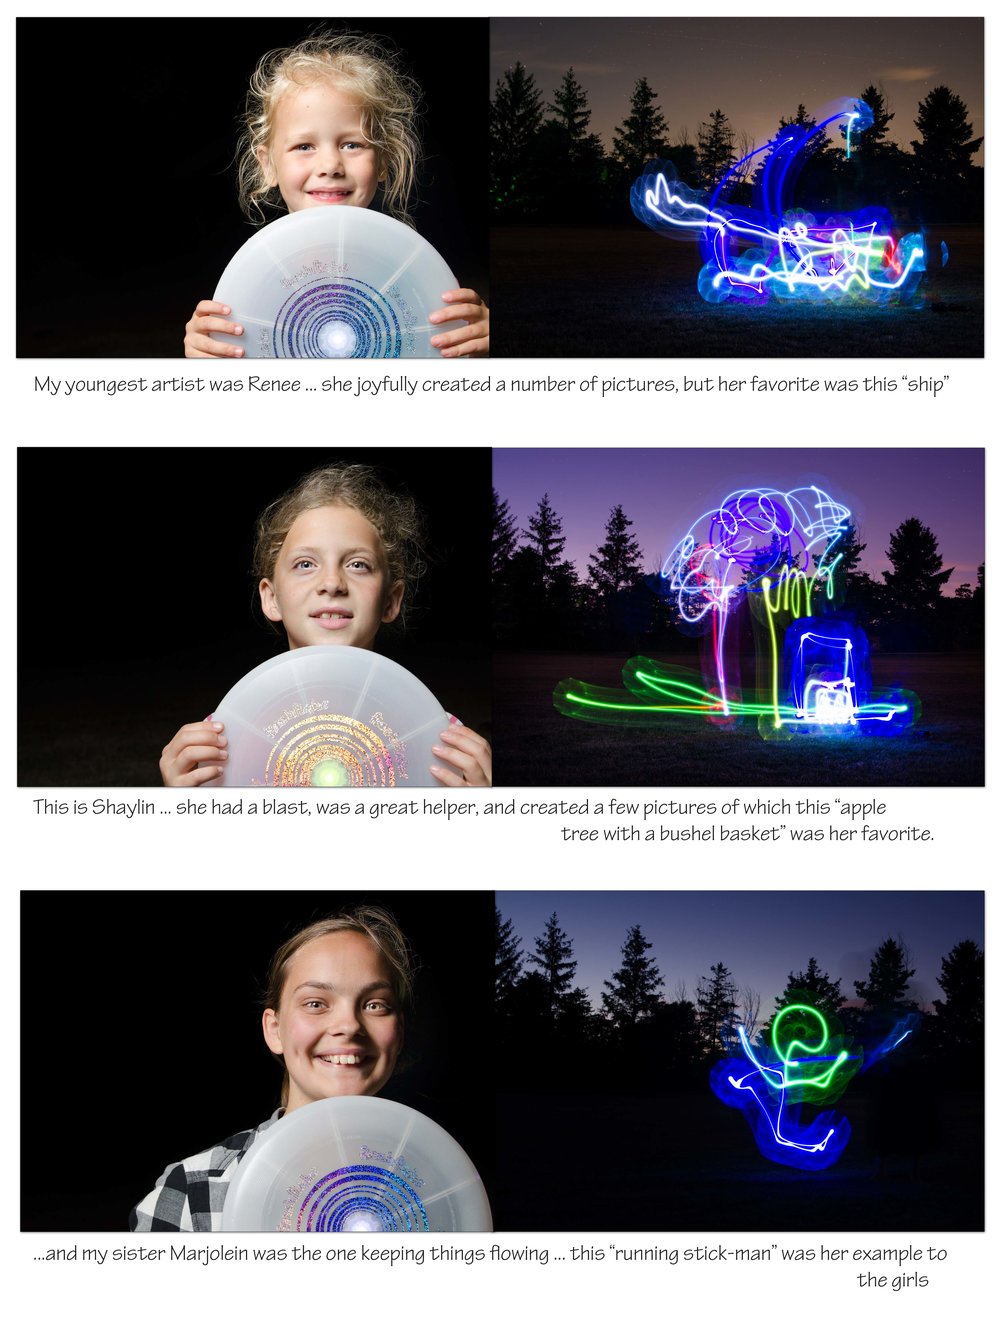

I have never done night photography before and thought I should try my hand at it. Last night we were over at a friend's place in the country, where there aren’t too many lights around. I decided to take advantage of the darkness while spending time with their little girls. We used a “FlashFlight” frisbee to make some drawings - this was tricky as you have to draw in mid-air, not seeing the outcome until it showed up on the LCD screen. The little girls amazed me with their creativity and ability to wrap their mind around this new concept! It was so much fun, but the best part was the excitement of the girls!!
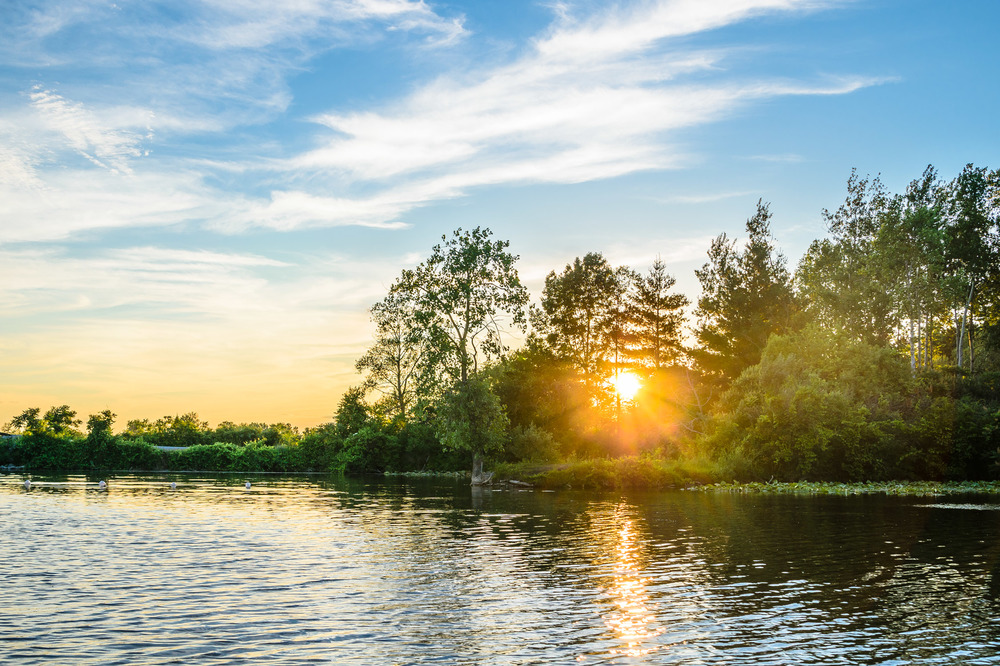

My brother treated me to a fishing trip on one of our local ponds. Of course I could not resist taking my camera to capture the sunset - even on the boat. This shot was taken while we were heading to another section of the pond.